Microsoft Teams Rooms (Part 2 – How to Create a Virtual Microsoft Teams Room)
This describes how to build a Virtual Microsoft Teams Room (MTR) which can be used for lab purposes. I didn’t have access to a physical device and wanted to test adding a MTR to Microsoft Teams as well as play around with in tune and the rest of the management products that go with the solution.
After many hours of looking around the internet and playing around myself, i managed to get a virtual MTR setup and successfully make test calls.I decided to document this for others that may want to try this too.
This series is divided in the following posts:
Part 1: Create a Microsoft Teams Room Mailbox using PowerShell
Part 2: Creating a Virtual Microsoft Teams Room
Part 3: Manage a Microsoft Teams Rooms with Intune
Part 4: Customising a Microsoft Teams Room
Prerequisites:
- Parallels Desktop, VMware Workstation or other choice of virtual machine hosting software
- Office 365 tennant with administration rights
- Microsoft teams Pro or Basic licence
- Windows Virtual Machine running windows 11
- USB drive (16GB) to build the MTR software onto
- Access to a windows 11 Image with these exact specs (here is an example)
  Major release: 22H2 (Win 11)
     Name in VLSC: Windows 11, version 22H2 (updated Sept 2022) x64
     Size (bytes): 5440065536
     SHA256: 768A49D9DDB9997E427094D317329E113E6ABE74DBB5707B4AAEB8270ADC6925
Installation Steps:
The following steps are used to create a specific windows MTR ISO file which will be used to build a virtual MTR
1. Use a windows 11 PC, i run a mac so i created a new windows 11 virtual machine on parallels which i used to run the scripts below
2. Download the CreateSrsMedia.ps1 script from Microsoft on your virtual machine
3. Copy the Windows 11, version 22H2 (updated Sept 2022) x64 install image onto your virtual machine. I put mine here: C:\teams\ISO\windows11.iso
4. Connect your USB Drive to the virtual Machine
5. Run PoweShell as Admin
6. Allow running scripts by executing the following command
powershell -executionpolicy unrestricted
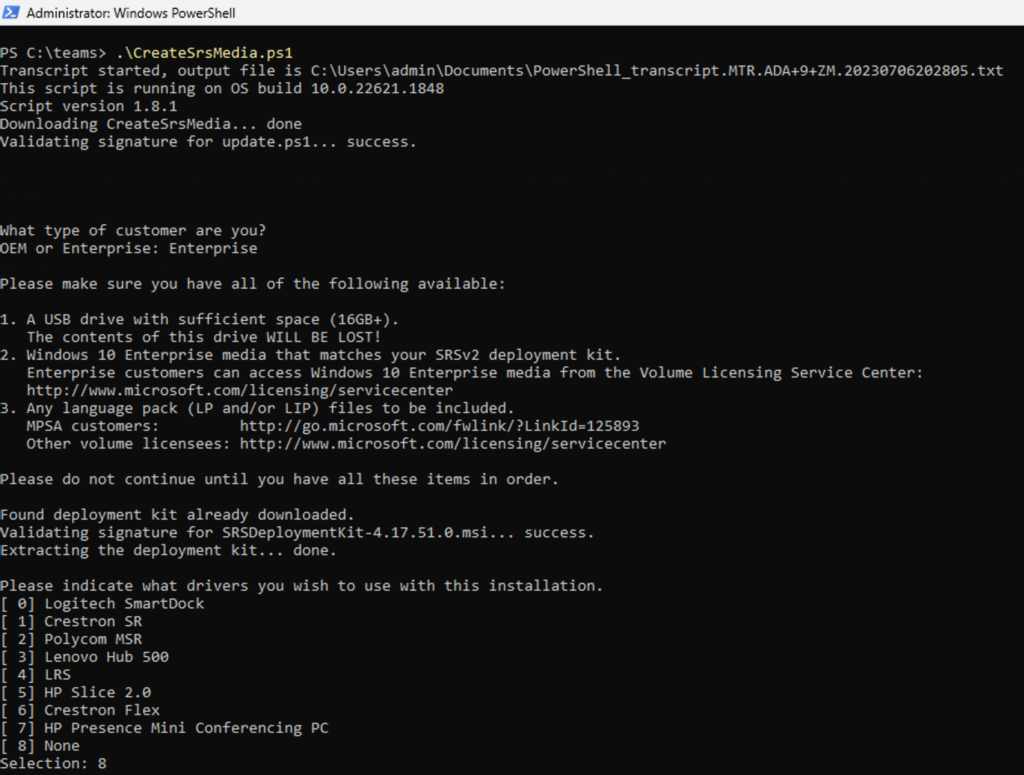
7. Run the PowerShell script (CreateSrsMedia.ps1) which was downloaded in step 2. This will download the latest SRSDeploymentKit for MS Teams.
C:\teams>.\CreateSrsMedia.ps1
8. Answer the questions presented:
- What type of customer are you ?
OEM or Enterprise: Enterprise
- Please indicate what drivers you wish to use with this installation:
Choose Option 8
9. Enter the path to the Windows image file (Windows 11, version 22H2 (updated Sept 2022) x64) that you copied to your virtual machine in step 3
C:\teams\ISO\windows11.iso
10. Confirm the USB Drive that you want to write the MTR install media to
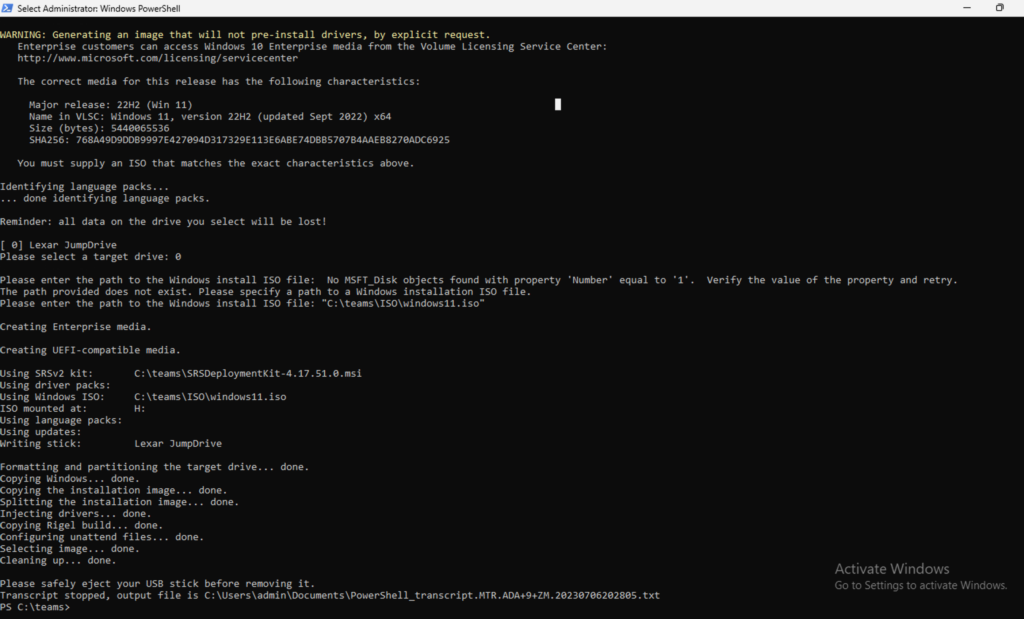
11.The following output shows in the PowerShell window
  Creating UEFI-compatible media.

  Using SRSv2 kit:       C:\teams\SRSDeploymentKit-4.17.51.0.msi
  Using driver packs:
  Using Windows ISO:     C:\teams\ISO\windows11.iso
  ISO mounted at:        G:
  Using language packs:
  Using updates:
  Writing stick:         Lexar USB Flash Drive

  Formatting and partitioning the target drive... done.
  Copying Windows... done.
  Copying the installation image... done.
  Splitting the installation image... done.
  Injecting drivers... done.
  Copying Rigel build... done.
  Configuring unattend files... done.
  Selecting image... done.
  Cleaning up... done.
12. Thats it, your MTR install media has been created
Build Microsoft Teams Virtual Machine
Now that you have completed the steps above you will have a bootable image which can be used to deploy a Microsoft Teams room..
Open Parallels desktop or VMware Workstation and Create new virtual machine. When creating the Virtual Machine, create a standard windows 11 build and choose to boot it from the USB image created in the previous steps.
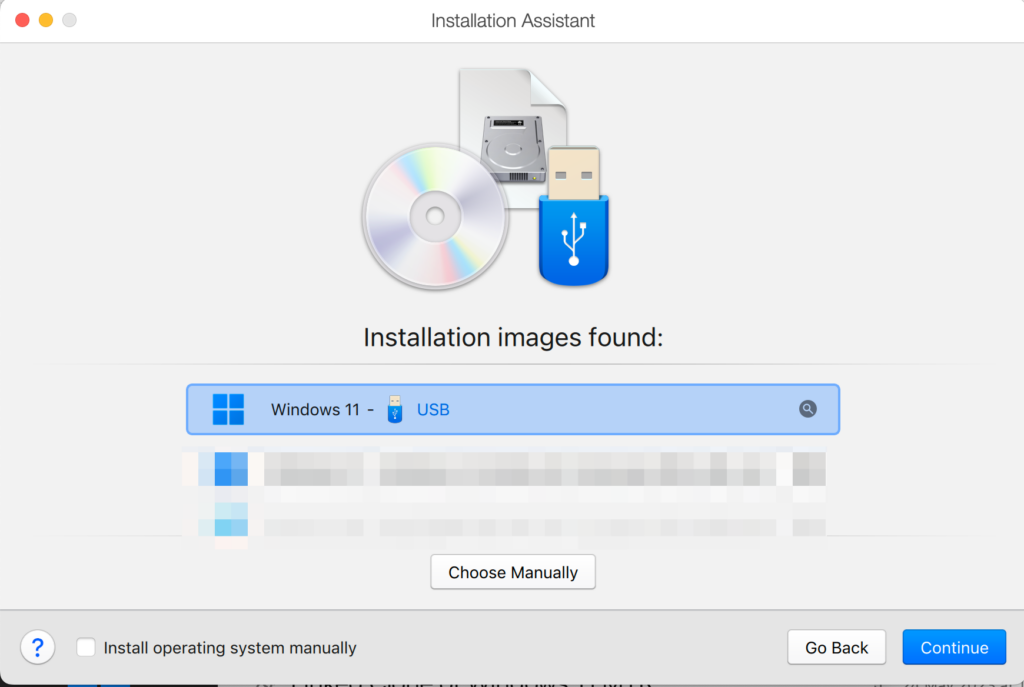
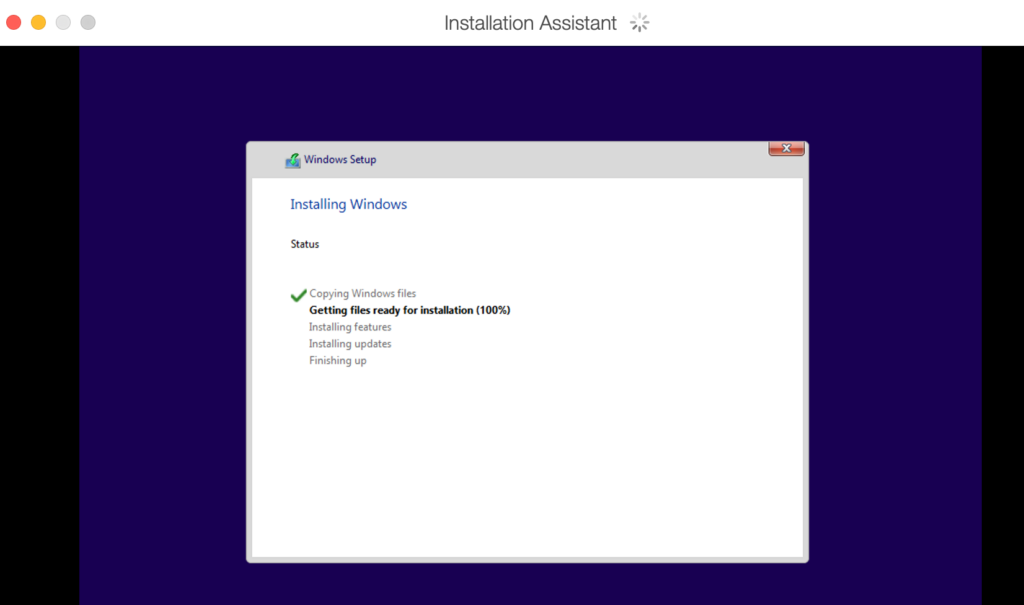
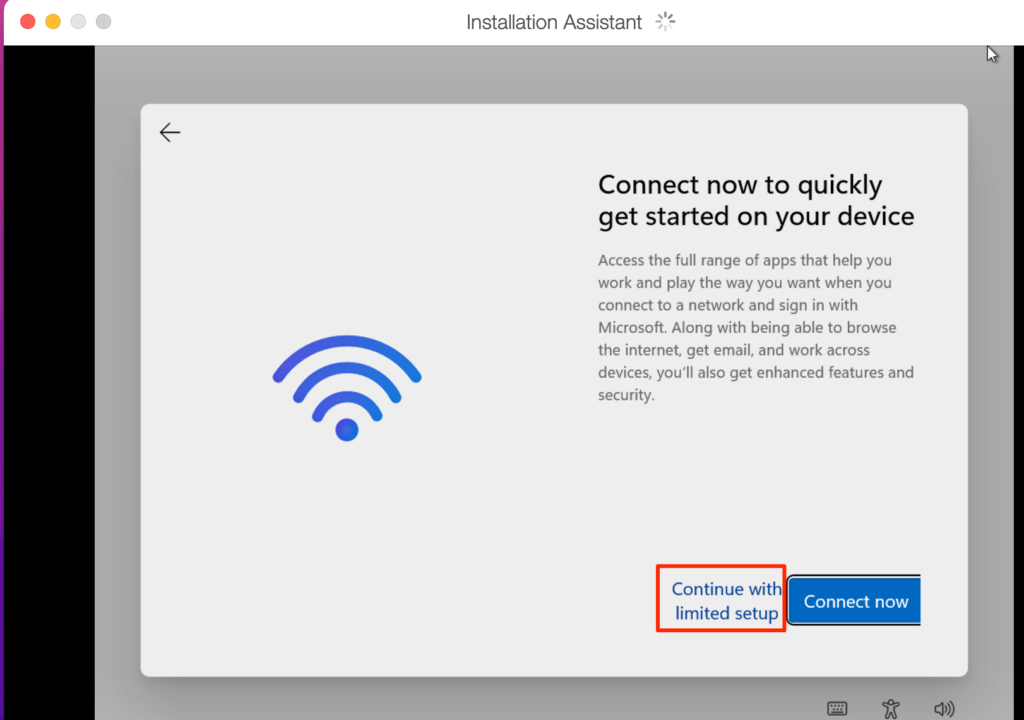
When you get to this step make sure the new virtual machine is not connected to the internet and then “Continue with limited setup”
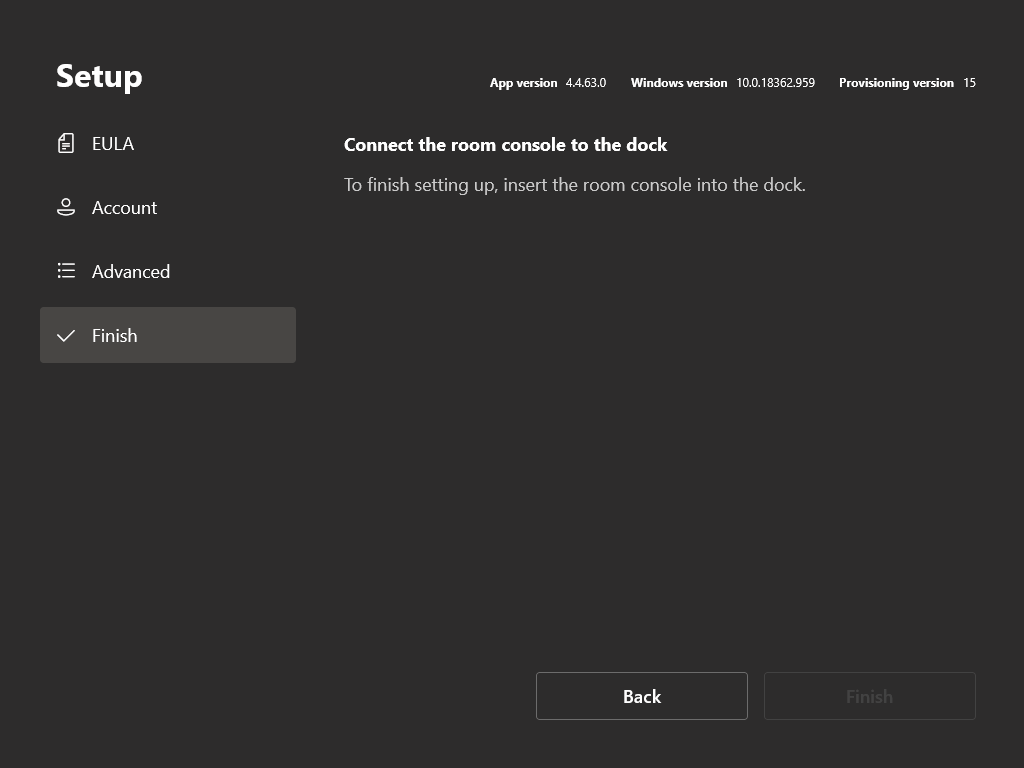
At the final stage, you will see the setup page of your newly installed virtual MTR. You can accept the terms and configure your account, but will end up at this screen which will not allow you to continue.
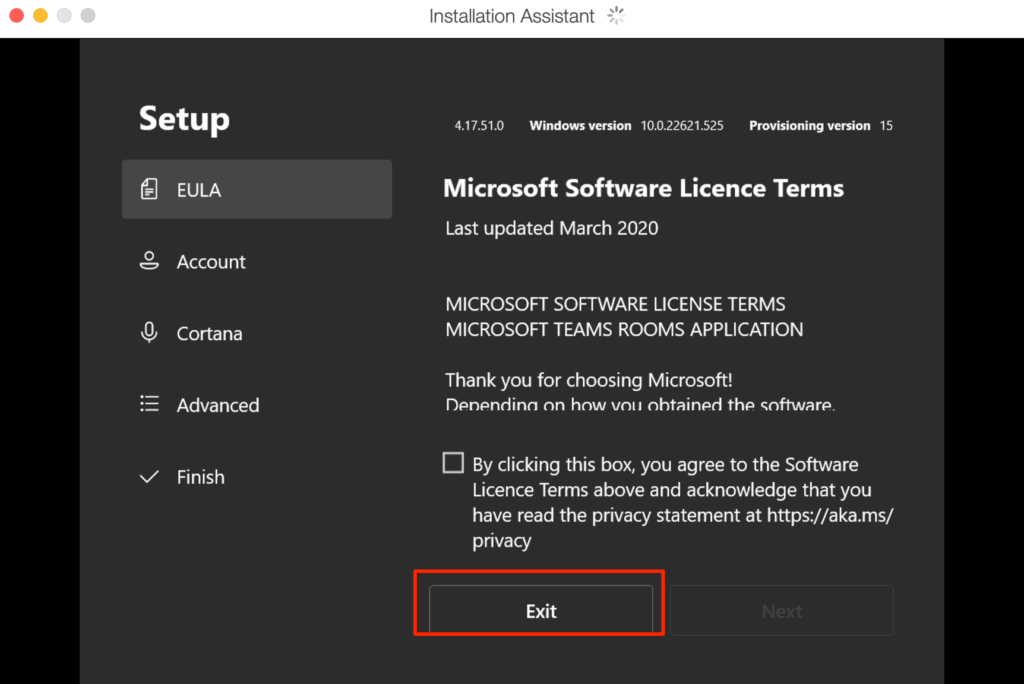
Exit this setup, by going back to the EULA screen and press Exit.
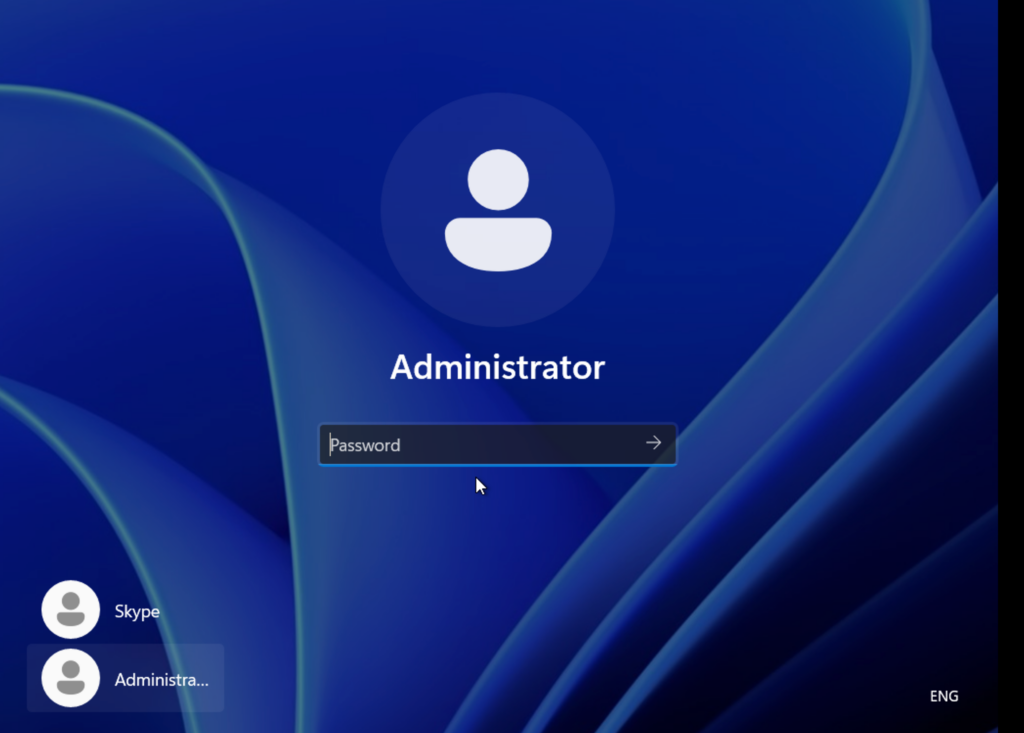
Login to New MTR
At the user screen, login as the local administrator.
- User: administrator
- Password: “sfb” (don’t forget to change this!)
Browse to the following folder:
C:\Users\Skype\AppData\Local\Packages\Microsoft.SkypeRoomSystem_8wekyb3d8bbwe\LocalState
Create a new SkypeSettings.xml-file with the following settings:
    <SkypeSettings>
    	<UserAccount>
    		<SkypeSignInAddress>[email protected]</SkypeSignInAddress>
    		<ExchangeAddress>[email protected]</ExchangeAddress>
    		<Password>test</Password>
    	</UserAccount>
    </SkypeSettings>
Reboot the MTR and it will use the XML file to configure the account. Thats it, the device should be registered and ready to test.
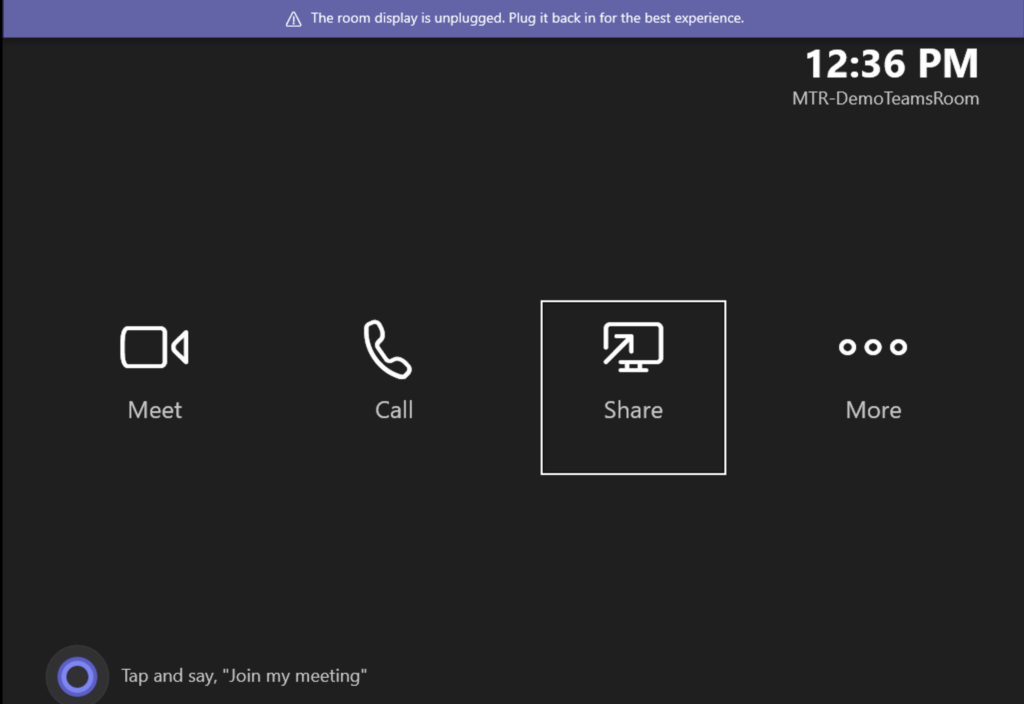
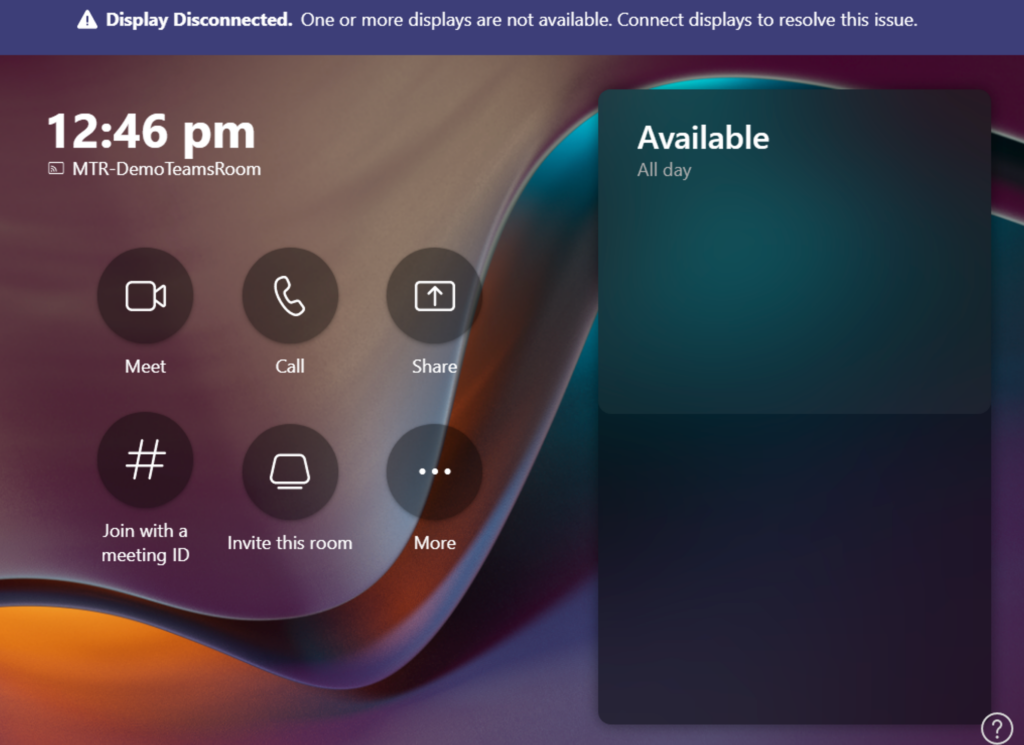
After a software update the new Teams UI should show
Teams Room Pro Portal
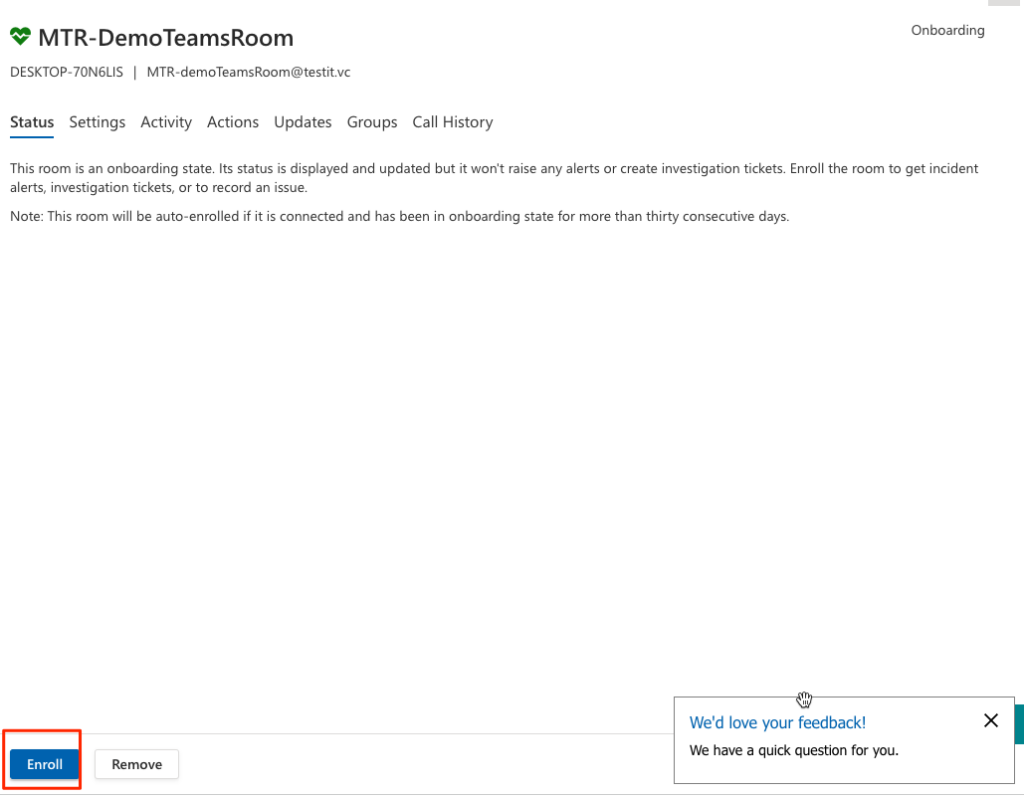
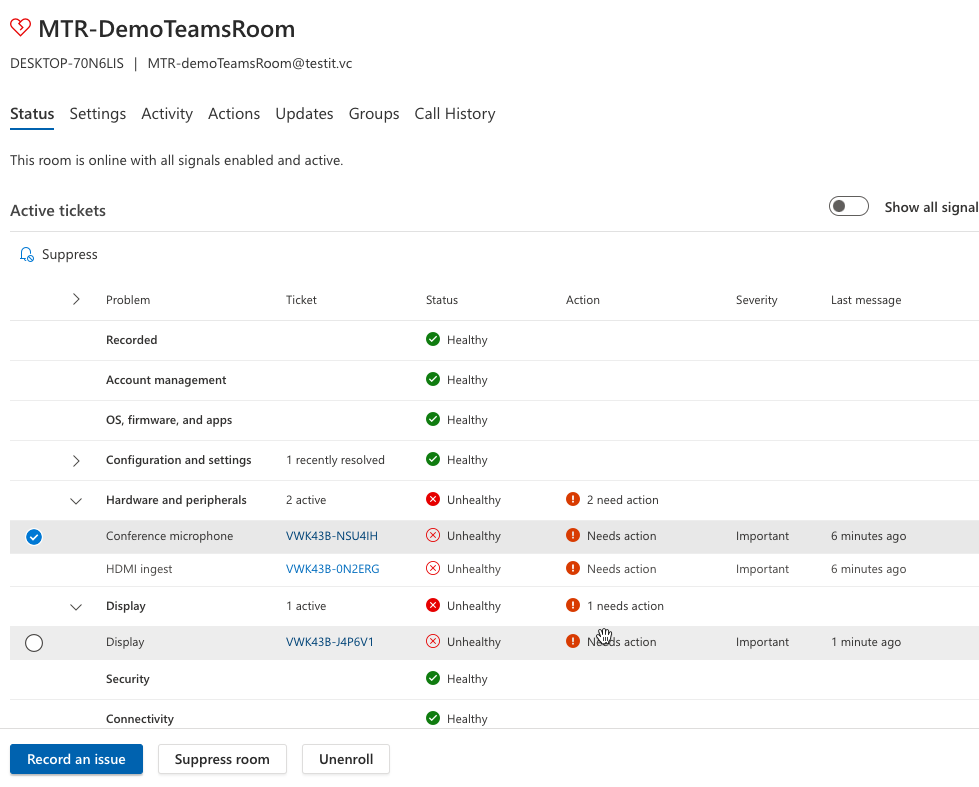
The device should now also show in the Teams Room Pro Management Portal if you have the teams room pro licence

Click on the device name and enrol it
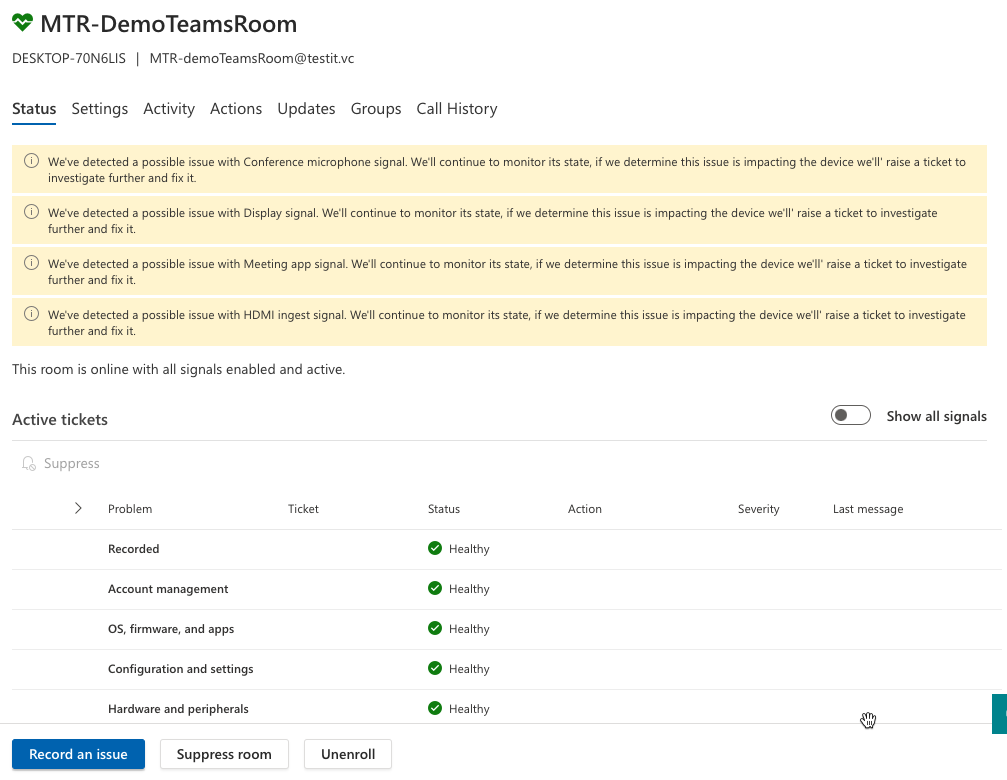
Initially there will be issues shown which will resolve after a few minutes and only valid issues will be shown. Since this is a Virtual Machine there will be issues as seen in the second screenshot below
Other Parts to this series
Part 1: Create a Microsoft Teams Room Mailbox using PowerShell
Part 2: Creating a Virtual Microsoft Teams Room
Part 3: Manage a Microsoft Teams Rooms with Intune
Part 4: Customising a Microsoft Teams Room

