Assumptions:
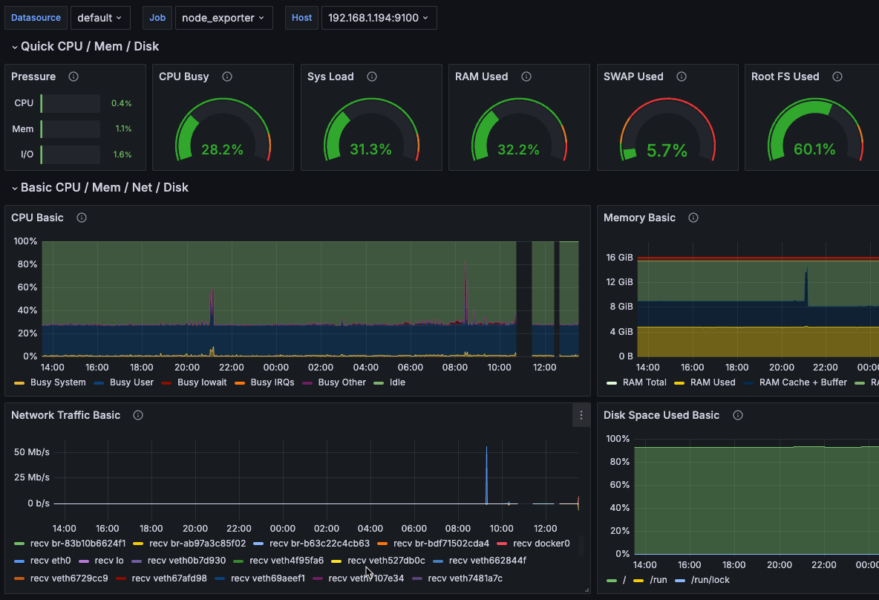
This post is specifically about monitoring Proxmox VE, I’m going to assume that you already have Prometheus and Grafana installed. If not then check out my post on how to do this here: Server Monitoring with Prometheus and Grafana setup in Docker and Portainer
Tasks
- Create Monitoring Account on Proxmox
- Install PVE Exporter
- Configure PVE Exporter
- Configure Prometheus
- Install Grafana Dashboard
Create Monitoring Account on Proxmox
- Navigate to Datacenter | Permissions | Users
- Click Add and provide a name e.g. prometheus then click Add
- NOTE: There is no option for a password as the assumption is you would create a corresponding account in Linux. As we won’t be using this to login to Linux
- Navigate to Permissions and from the Add drop-down menu select User Permission
- For Path select /
- For User select the account just created
- For Role select PVEAuditor
- Click Add
- Navigate to API Tokens and click Add
- For User select the account just created
- For Token ID enter something useful e.g. exporter
- De-select Privilege Separation otherwise we’ll have to manage permissions for both the user and the token
Note down the Token ID and Secret
Install PVE Exporter
Next we’ll install an exporter as a container in Portainer which is where we have Prometheus and Grafana running
- Create directory on host linux machine
mkdir /root/Docker/pve2. Create a new yaml file
sudo nano root/Docker/pve/pve.yml3. Add this code to the file
This defines the user account and token details to use to connect to the PVE nodes so remember to replace prometheus with whatever username you created. You’ll also need to replace the token name and value with what’s appropriate for you
default:
    user: monitoring@pam
    token_name: "monitoring"
    token_value: "3cbbd5f5-e3ea-4b6b-8ee9-af7bc2d4880f"
    verify_ssl: false
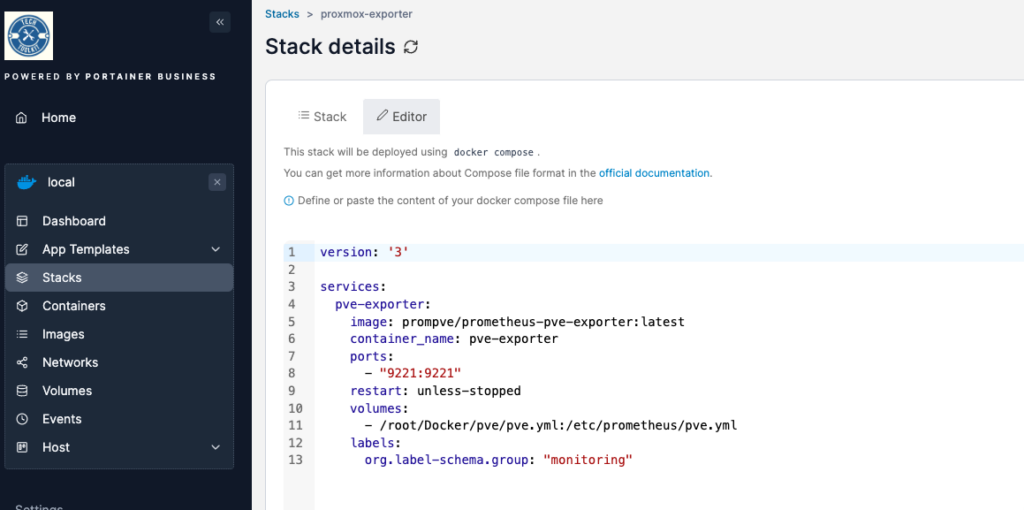
We will create a boiler plate to use to create a new stack, you can find this in my github page: https://github.com/ljgoe/portainer-boilerplates/tree/master/docker/Prometheus-pve
version: '3'

services:
  pve-exporter:
    image: prompve/prometheus-pve-exporter:latest
    container_name: pve-exporter
    ports:
      - "9221:9221"
    restart: unless-stopped
    volumes:
      - /root/Docker/pve/pve.yml:/etc/prometheus/pve.yml
    labels:
      org.label-schema.group: "monitoring"
Run the stack and it should run without any issues

Configure Prometheus
Configure Prometheus to scrape metrics from the PVE exporter. To do this edit the yaml file on the host machine for the prometheus server, if you followed my guide it will be located here: /etc/prometheus/prometheus.yml
nano /etc/prometheus/prometheus.yml # Job for Proxmox Exporter
- job_name: 'pve'
static_configs:
- targets:
- 192.168.0.199 # Proxmox VE node 1
metrics_path: /pve
params:
module: [default]
relabel_configs:
- source_labels: [__address__]
target_label: __param_target
- source_labels: [__param_target]
target_label: instance
- target_label: __address__
replacement: 192.168.0.194:9221 # PVE address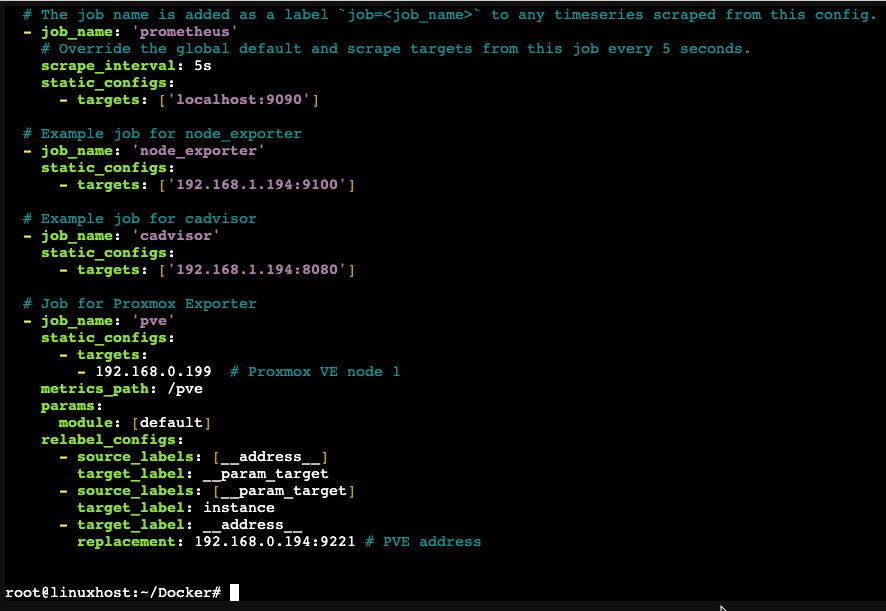
We’re using an exporter to remotely gather metrics from our PVE nodes and the above configuration defines those as targets. As an exporter isn’t on the nodes we have to do some re-labelling
The IP address I’m using for the exporter is the one running Docker. This is to keep things simple as we’re using different containers for Prometheus and the exporter.
As we’ve changed the configuration file we need to reload the container for Prometheus from within Portainer

We now have to wait some time to gather metrics, particularly because Prometheus doesn’t run a scrape immediately, it waits for the scrape time to count down
Once it’s ready, we can check the exporter for metrics from a node, for instance
http://192.168.1.194:9221/pve?target=192.168.1.199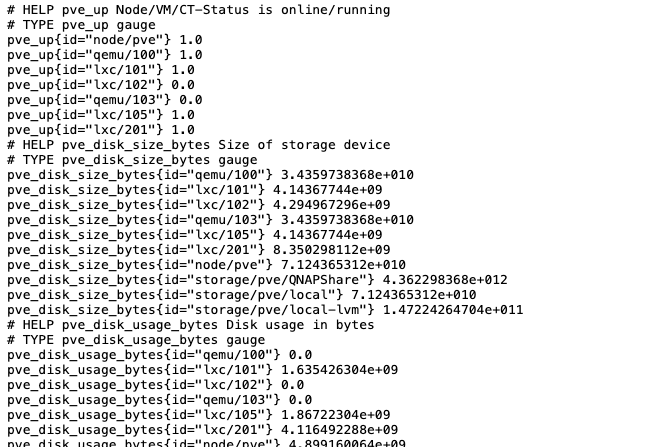
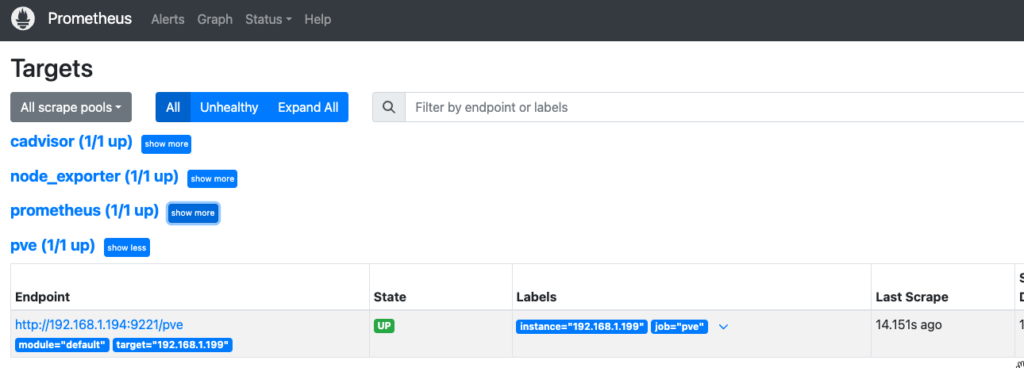
We can also check Prometheus itself
Install a Grafana Dashboard
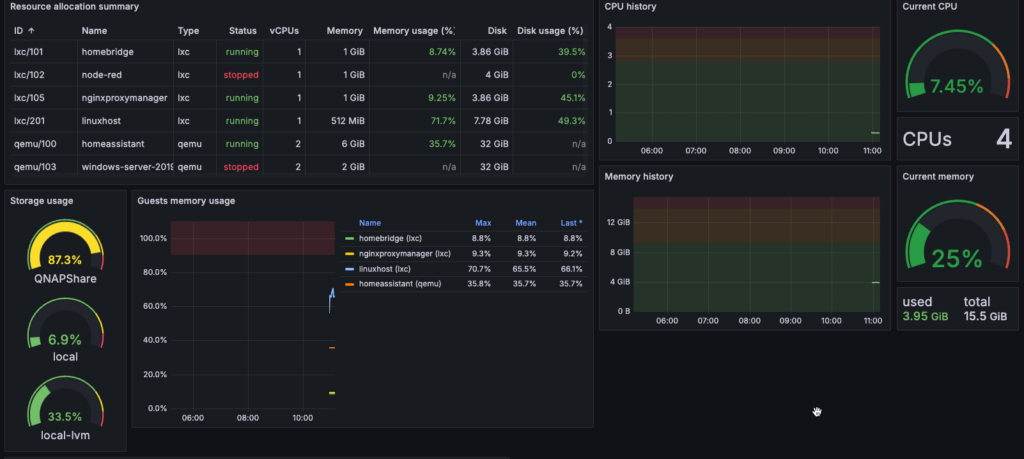
The developer of pve exporter suggests the following: https://grafana.com/grafana/dashboards/10347-proxmox-via-prometheus/
- Copy the ID of the Dashboard
- Login to Grafana, In the top left corner click the menu button and select Dashboards and import using the ID copied
