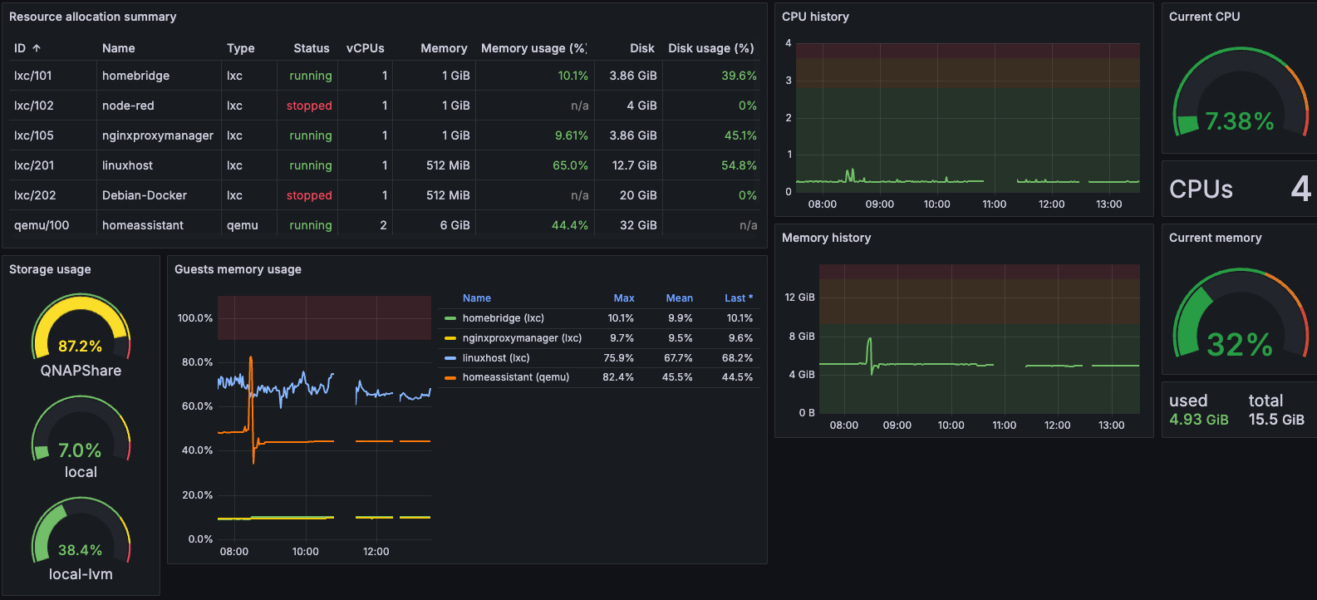
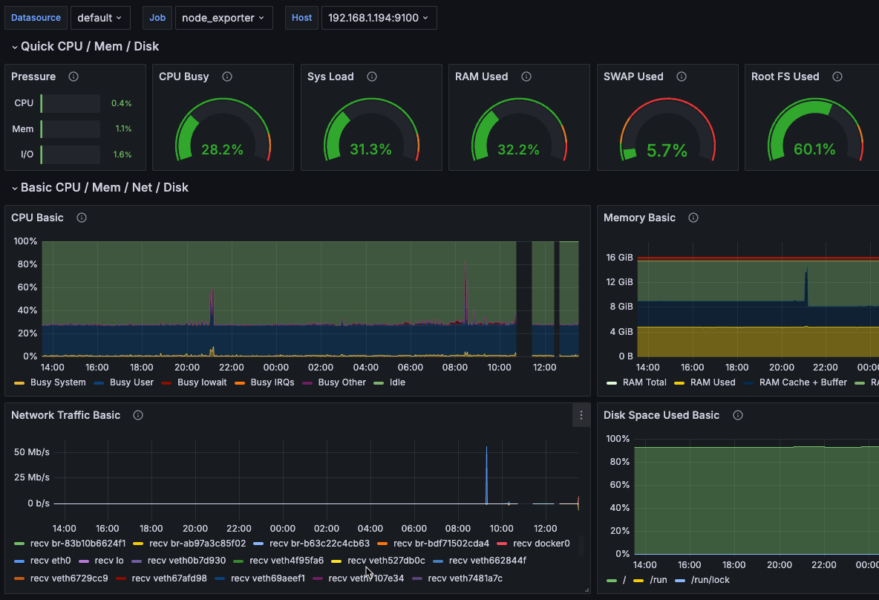
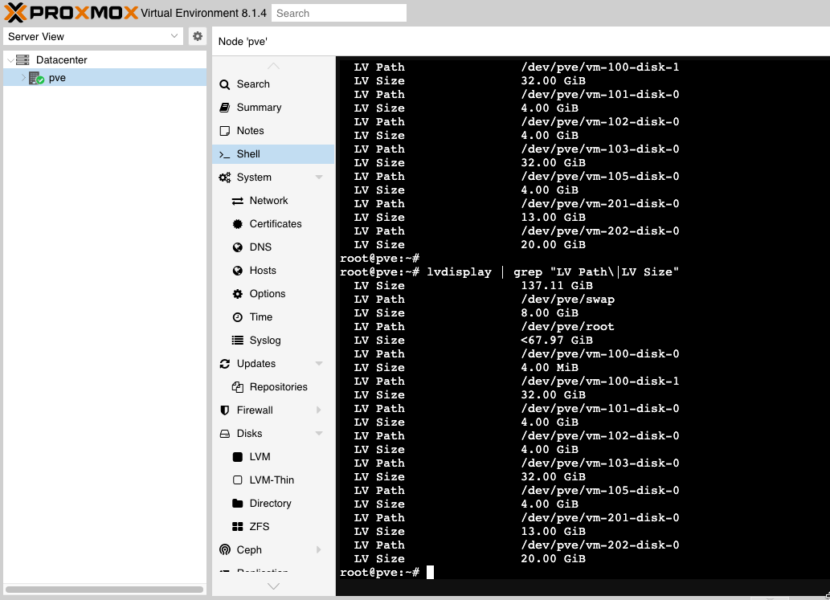
It’s common for homes nowadays to have private home lab hosting services, like a media server or FTP server. In some cases, users would want to make these private services accessible anywhere on the internet.
Not every internet subscription comes with a dedicated public IP address. But even so, configuring your internal network to be accessible publicly is not typically a simple task for most home users.
So what’s the alternative? You should consider using the Cloudflare tunnel, part of the Cloudflare Zero Trust, which exposes your private network to the Cloudflare global network. There are several subscription options to Cloudflare Zero Trust, but the free option should be sufficient for a home lab.
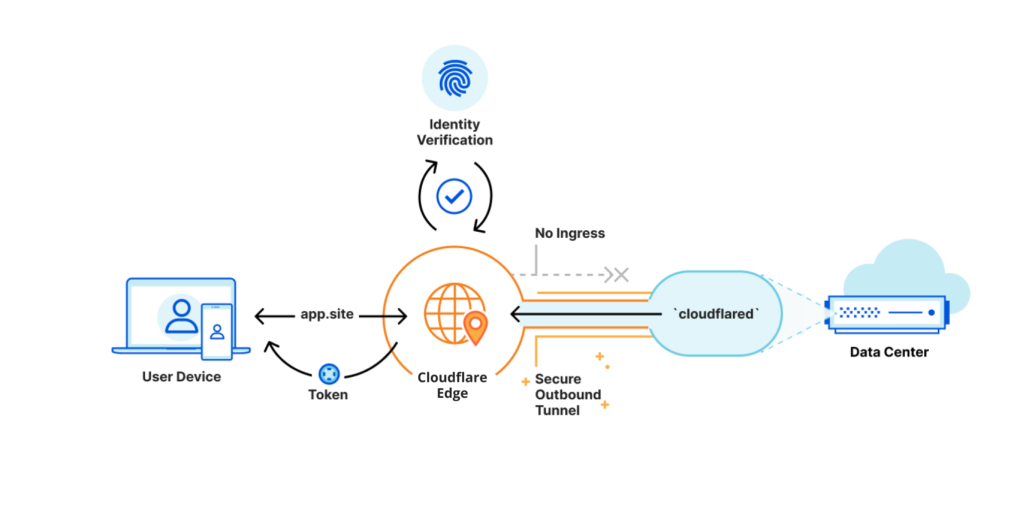
Pros of using this solution
- Free of charge
- Full GUI, zero-config files
- You can put your internal services behind a firewall
- No need to expose your real IP
- Expose Docker port is optional
- No need a reverse proxy software such as Nginx, Caddy or Traefik
- Zero-config SSL
- Free SSL
Requirements
- You must already have a DNS domain in your Cloudflare account
- A server in your internal network
- Either Docker or another machine to install the cloudflare tunnel on
Get Started
- Login to your Cloudflare account and click on the Zero Trust link.
- Click Access → Tunnels → Create a Tunnel.
- Next, type a descriptive name for the tunnel you’re creating. In this example, we’ll name the tunnel homelab to indicate that this tunnel we are creating for our home lab network. Once you’ve entered the tunnel name, click Save tunnel.

Install the Cloudflare Tunnel Connector
After saving the new Cloudflare tunnel, the next step requires installing the Cloudflare Tunnel connector on your server.
- On the Choose your environment, select the operating system of your server. The connector can be installed on Windows, Mac, Linux, and as a Docker container. In this example, I’ll install the connector as a on the linux host which i run all my docker applications.
- The instructions or command to install the connector for your chosen environment appears below.
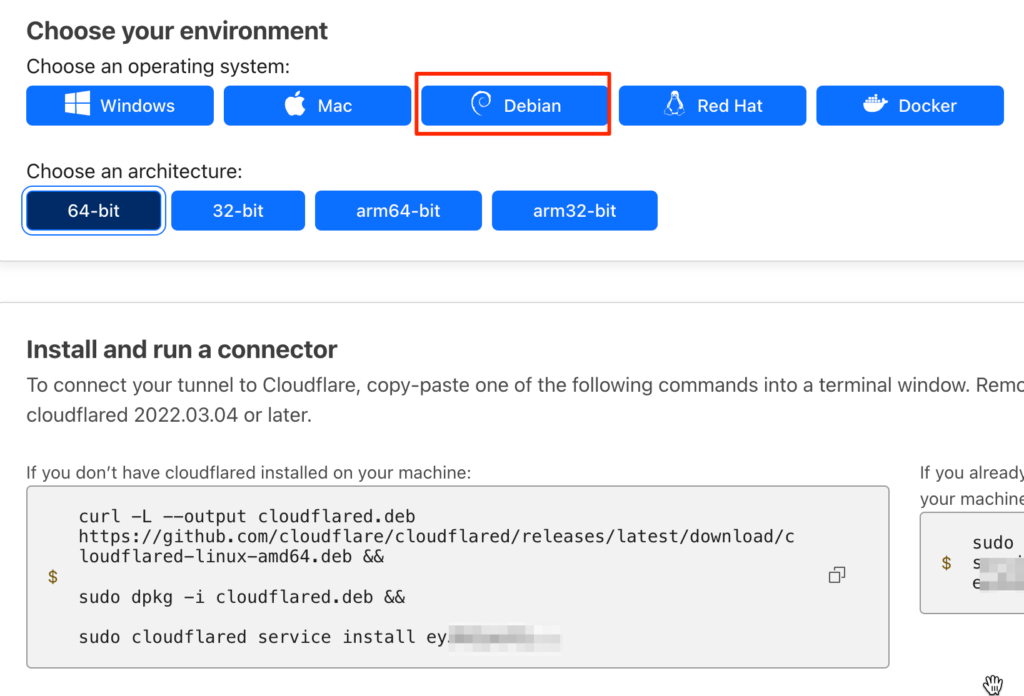
Now, run the command in your server’s terminal

Go back to Cloudflare Zero Trust, if you see your connector, then click Next
Choose your server sub domain name and map it to your servers IP address and Port e.g https://192.168.1.194:9443
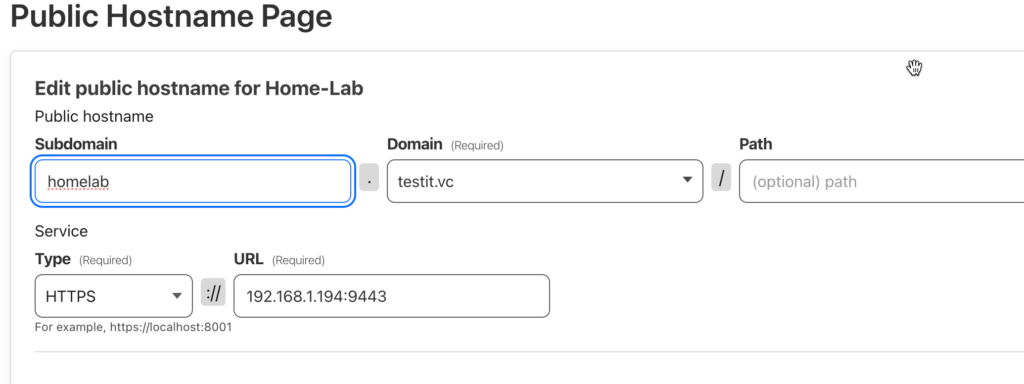
Click Save and go to your domain name https://demo.getsecured.com.au and you should get your servers front end page and cloudflare also automatically generates a SSL certificate

