Microsoft Teams Room (Part 3 – Manage Microsoft Teams Rooms with Intune
This series is divided in the following posts:
Part 1: Create a Microsoft Teams Room Mailbox using PowerShell
Part 2: Creating a Virtual Microsoft Teams Room
Part 3: Manage a Microsoft Teams Rooms with Intune
Part 4: Customising a Microsoft Teams Room
Teams Rooms Intune enrolment methods
There are two methods for enrolling Microsoft Teams Room (MTR) devices in Intune. The recommended method is to use bulk enrolment, which allows you to set up the device in shared device mode.
From a license perspective, everything you need to register the MTR device in Azure Active Directory (Azure AD) and enrol it in Intune is already covered by the Microsoft Teams Rooms licenses.

Create Dynamic AD group
Log into Entra ID (Azure AD) and create a dynamic group to add all the Teams Rooms devices to it. This helps to identify which devices to apply Teams Rooms-related settings and policies to, and will handle them as a group, separate from other Windows devices.
- Login to MS Entra ID
- Go to Groups
- Click on New group
- Give the group a name, in my case the group is called ‘MTR Rooms’
- Set the Membership type to Dynamic Device
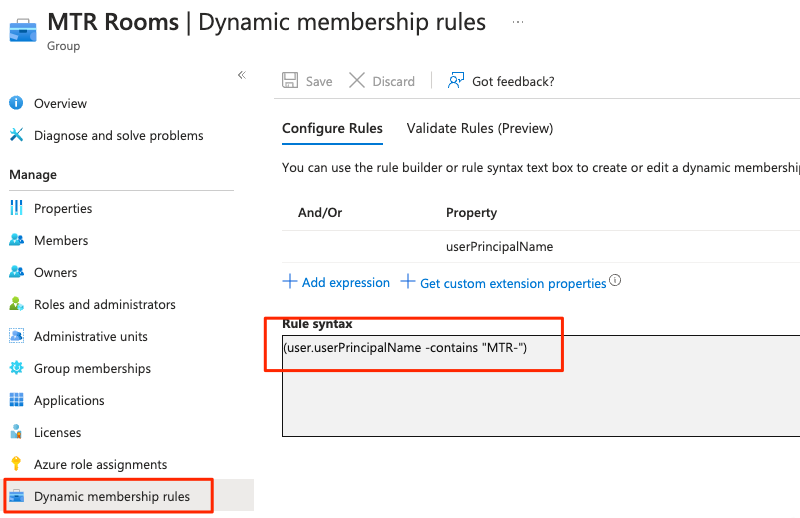
- Click on Add dynamic query
We use a naming convention to include “MTR” to help identify Teams Rooms by specifying the syntax: (user.userPrincipalName -contains “MTR-“)
Enrol devices with Windows Configuration Designer
1. An easy way to enrol Teams Rooms Windows devices is with a Windows Configuration Designer provisioning package. First, install Windows Configuration Designer from the Windows Store: https://www.microsoft.com/store/productId/9NBLGGH4TX22.
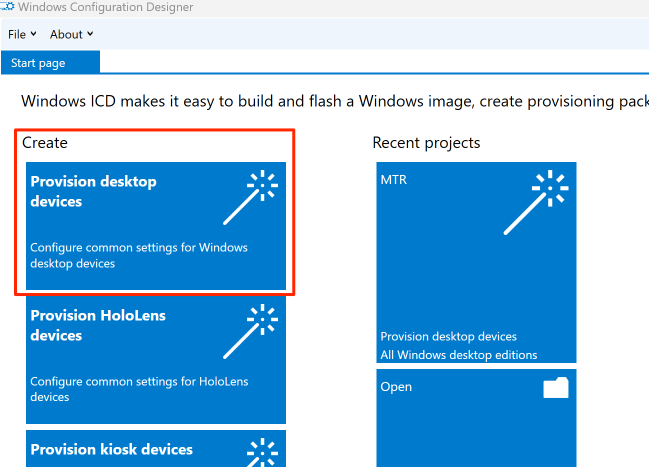
2. Open the WCD and click “Provision desktop devices”
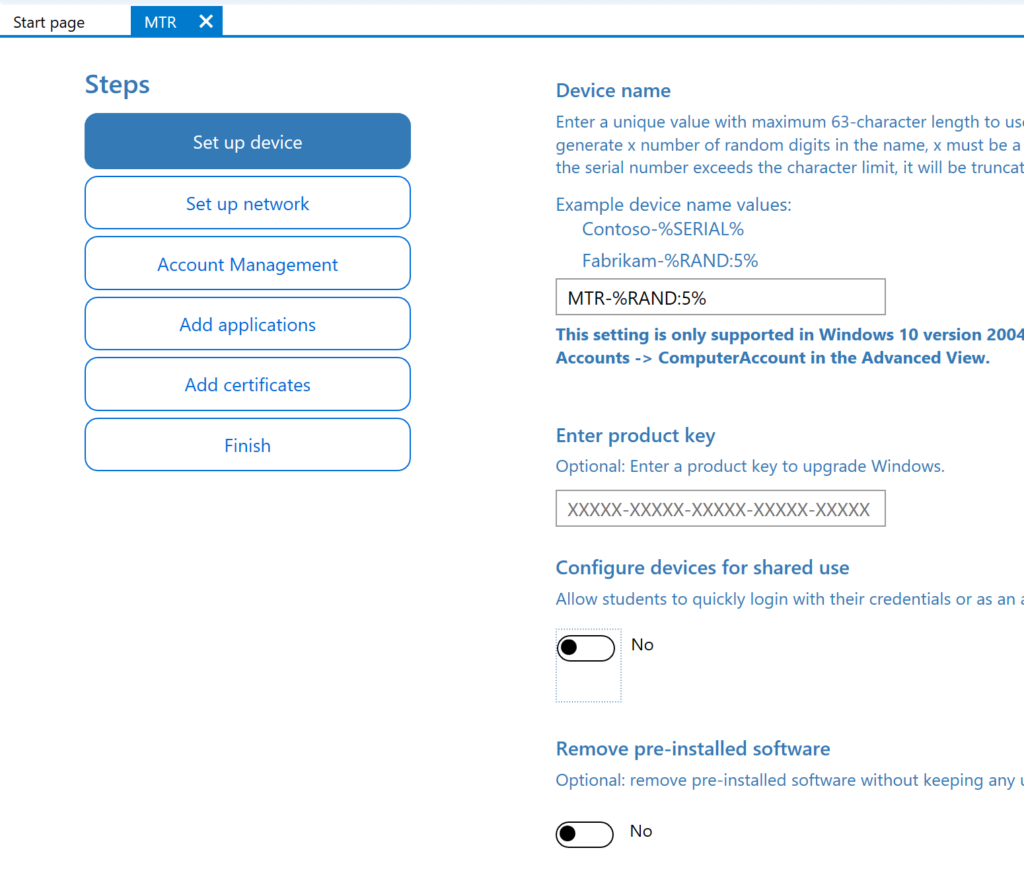
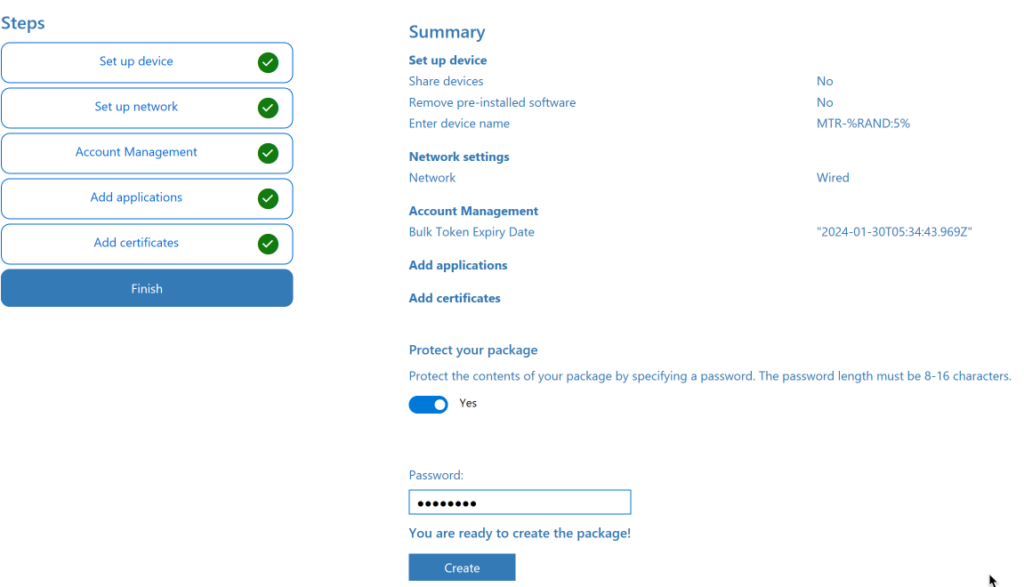
3. To enable a standard naming convention in the Azure AD group, specify some rules for the MTR name. For this example, we want to ensure that every device starts with “MTR” followed by a 5-digit random number. We use the value: MTR-%RAND:5%
Note: Make sure to disable the Configure devices for shared use setting. If you allow this option, Windows Teams Rooms devices will not allow local sign-ins.
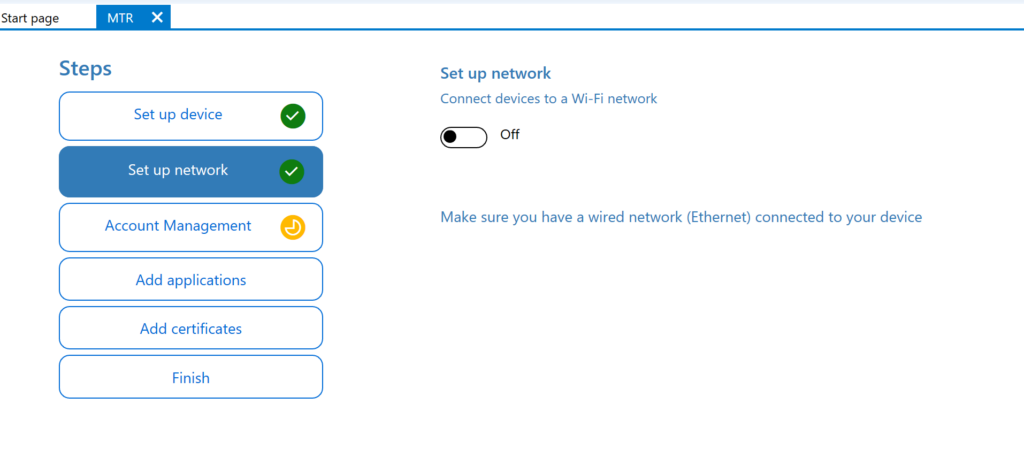
4. Disable the Wi-Fi connection for Teams Rooms as they require a LAN connection for initial setup
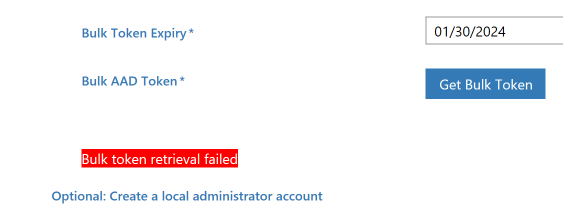
5. Under Account management, select Enrol in Azure AD to join the device to Azure AD. Next, select Get Bulk Token to request an enrolment token from Azure AD.
Use an account which has the rights to be able to consent to create a new Enterprise Application and user in Azure AD. (Global Admin or Application Admin + user admin)
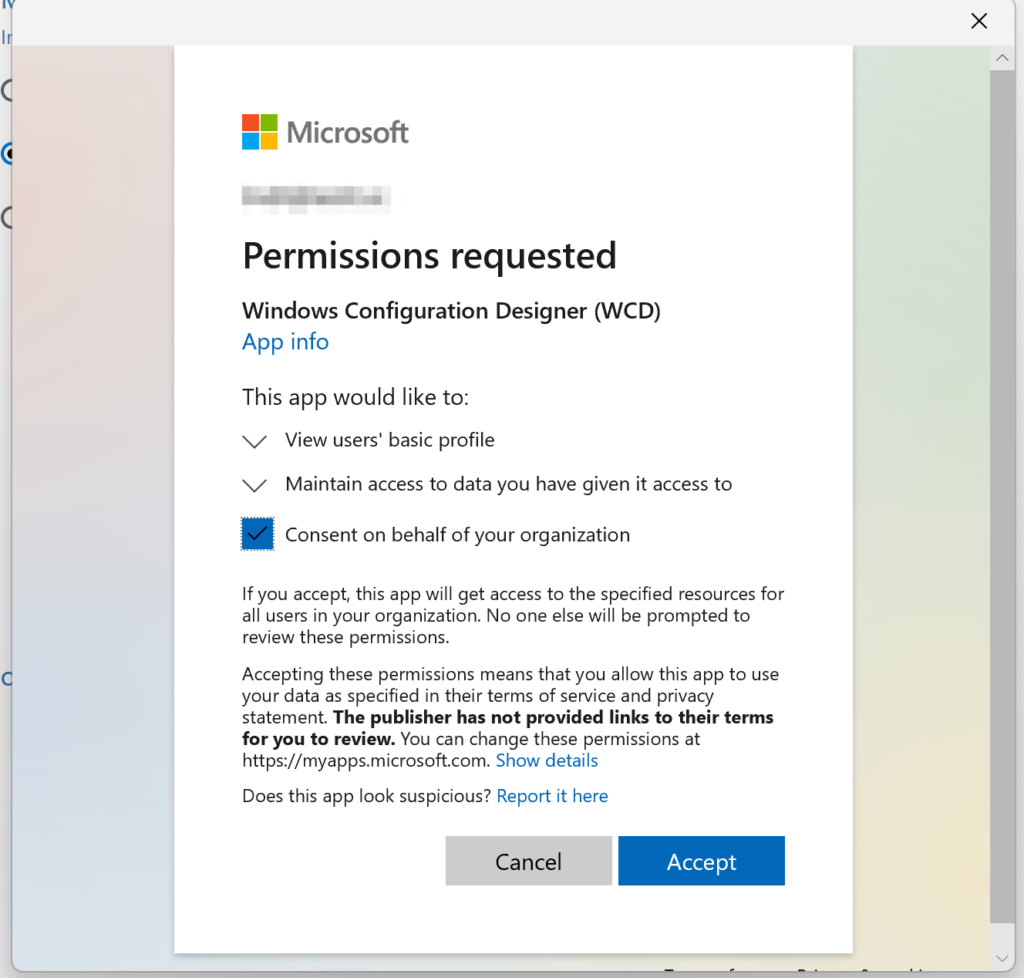
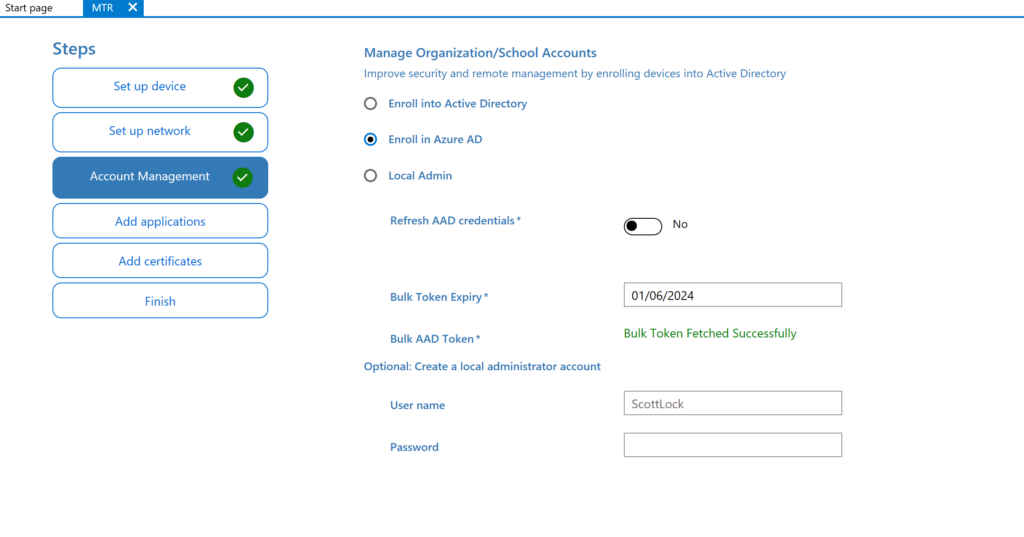
If you encounter an error code like this, then enable “Refresh AAD credentials” switch to “Yes” and you will be asked to authenticate
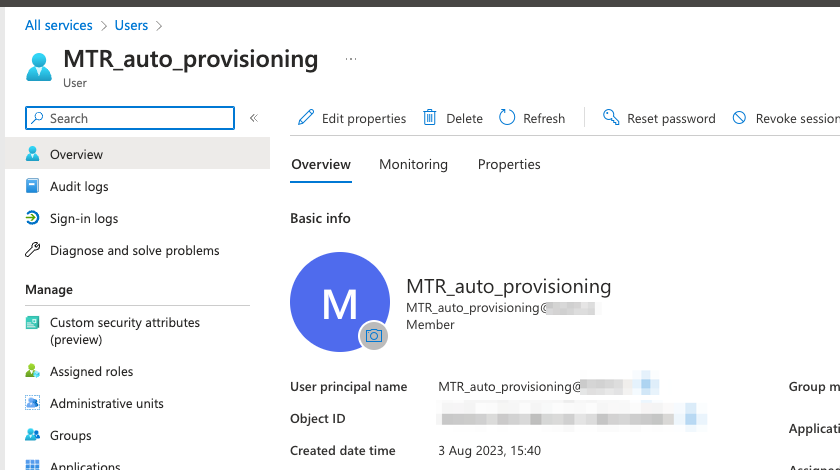
6. Log into MS Intune and you will see the new, corresponding enrolment account that Windows Configuration Designer created. The account will be give a generated name “package_xyz”. You can rename this to something more relevant to your company.
- Login to MS Intune
- Go to Users
- Click on new user which has been generated “package_xyz”
- Rename the package
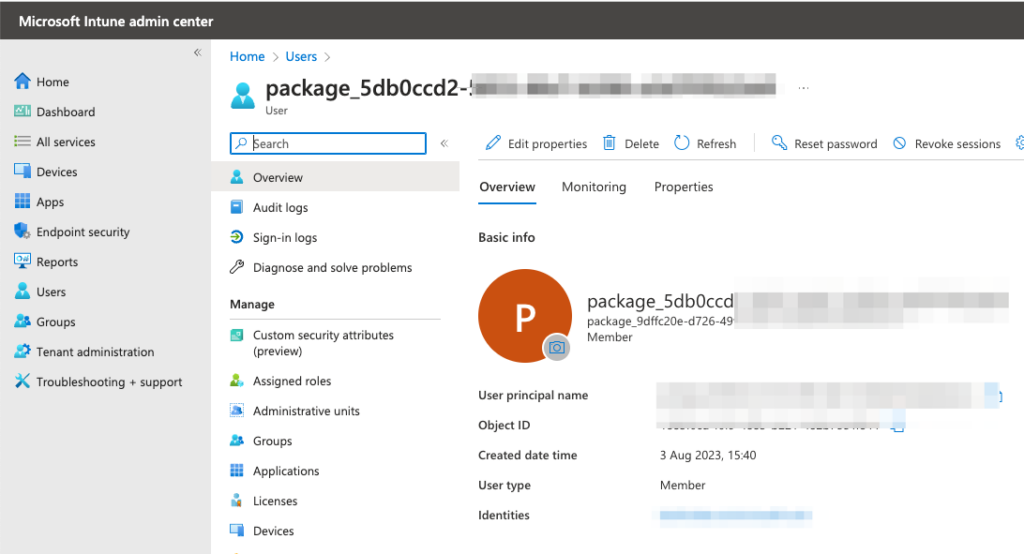
I chose to rename it to MTR_auto_provisioning
7. For our example, we do not need to add any apps and there are no certificates, either. Select Next to continue to the Finish page, review the summary, and then select Create to generate the package.
I recommend protecting the provisioning package, If someone got hold of the package, they will be able to onboard devices to Azure AD.
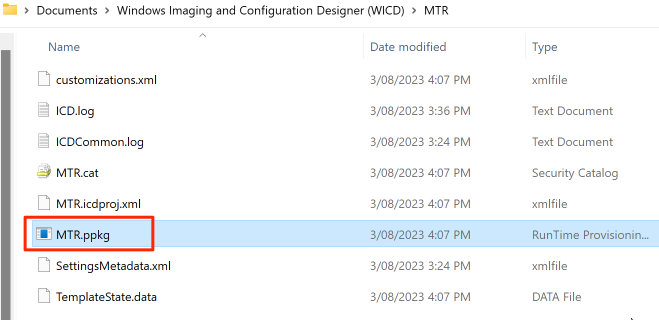
8. Copy the PPKG File to a USB drive.
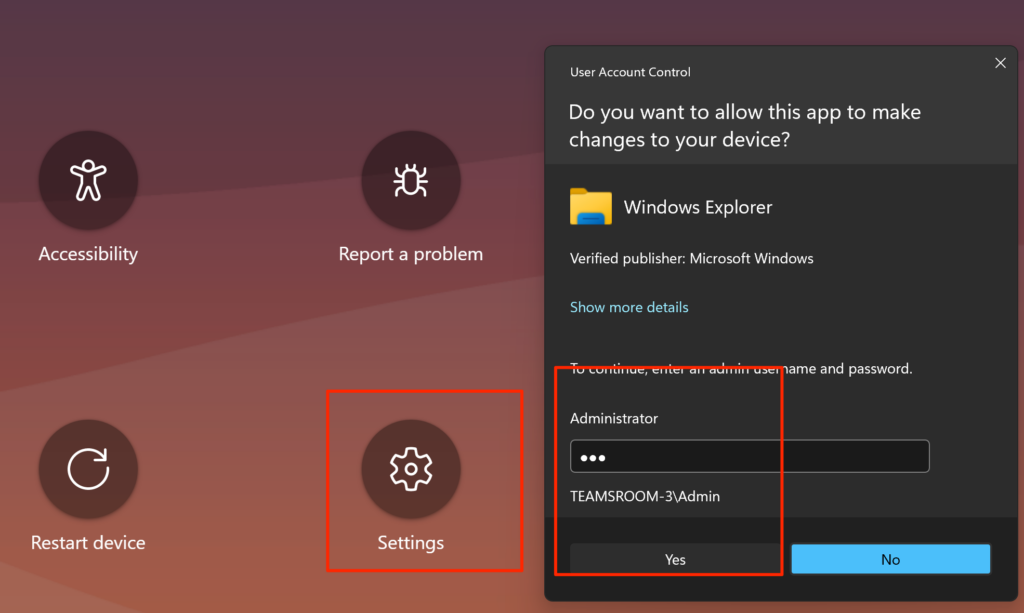
9. To assign the package, login into the MTR as the administrator:
On the device user interface, select More (…) and select Settings.
Sign in with an Administrator and password as per the previous Post
- User: administrator
- Password: “sfb”
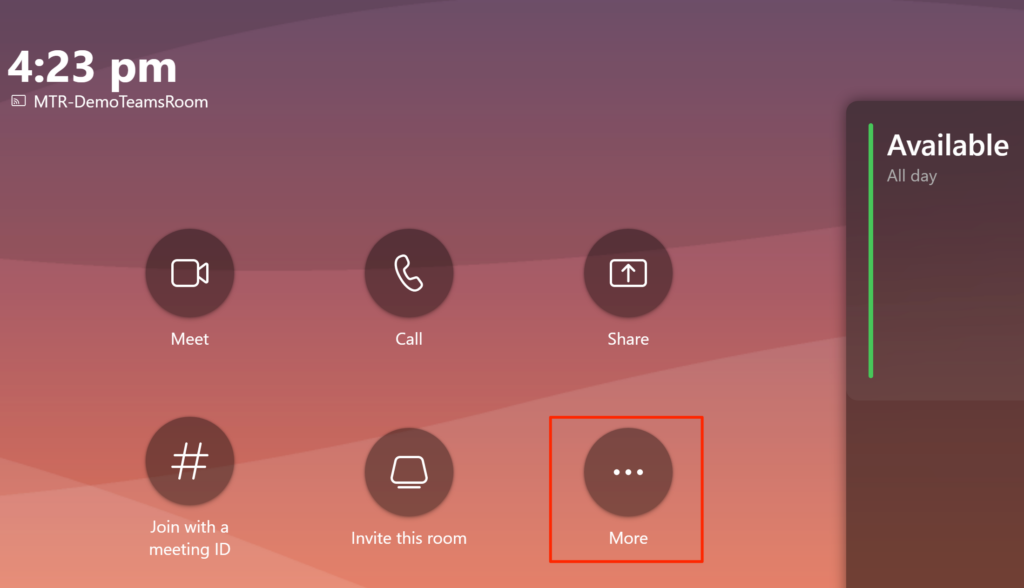
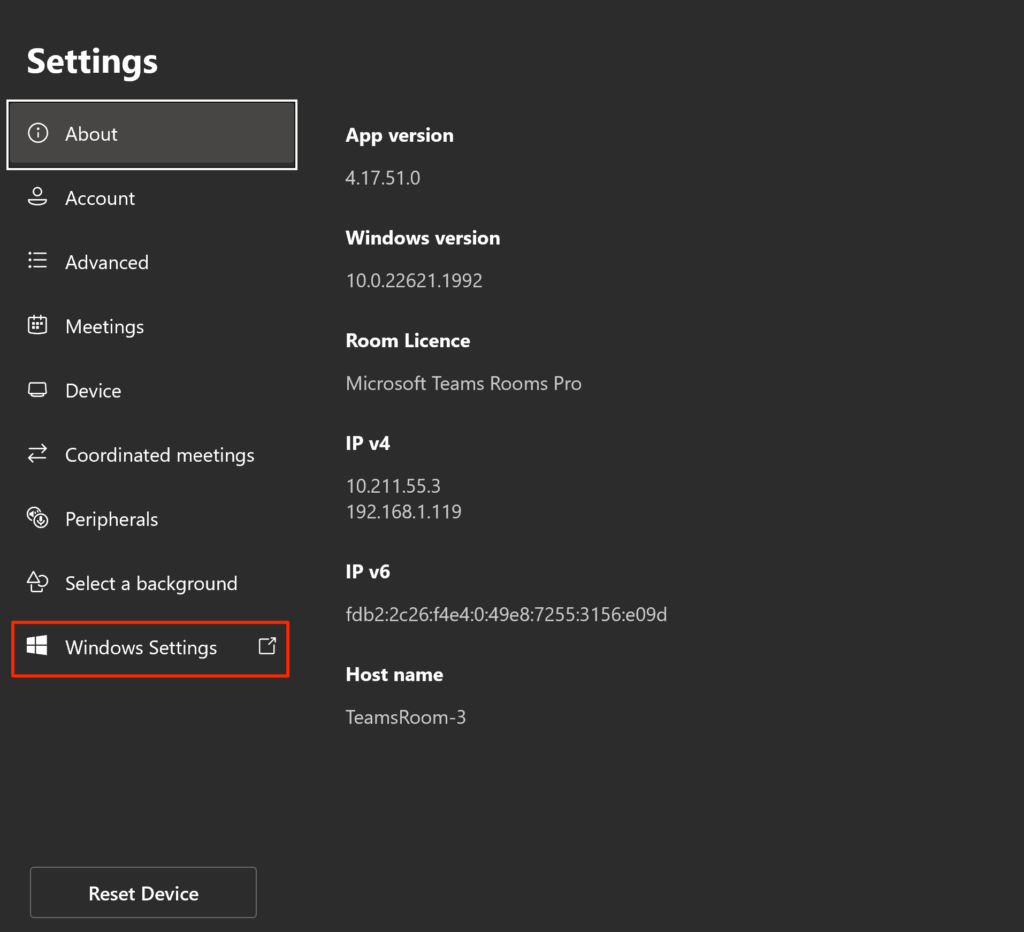
10. In the Settings menu, choose Windows Settings, this will take you to the windows login screen.
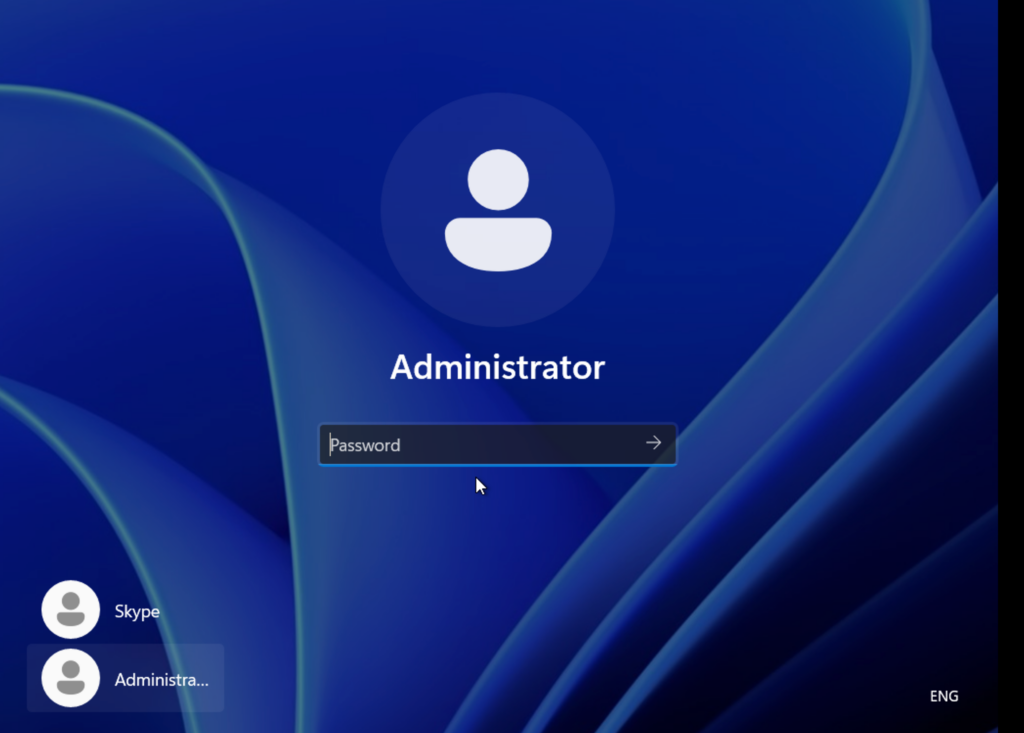
Sign in with an Administrator and password as per the previous step
- User: administrator
- Password: “sfb”
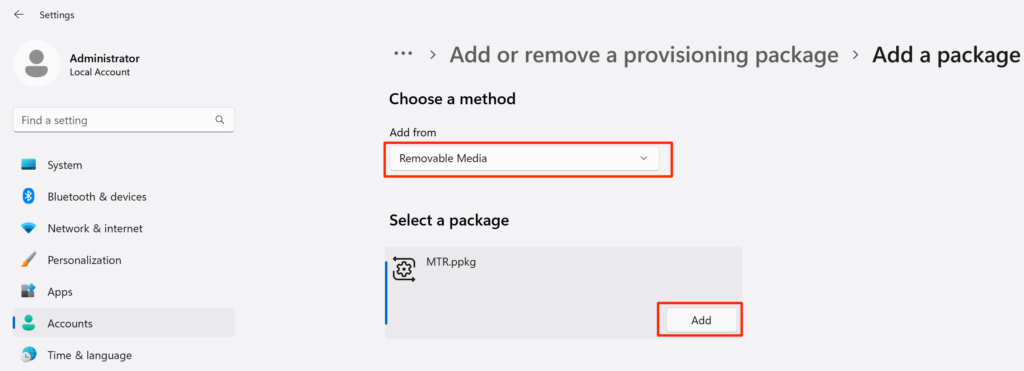
In Settings, select Accounts > Access work and school > Add or remove a provisioning package.
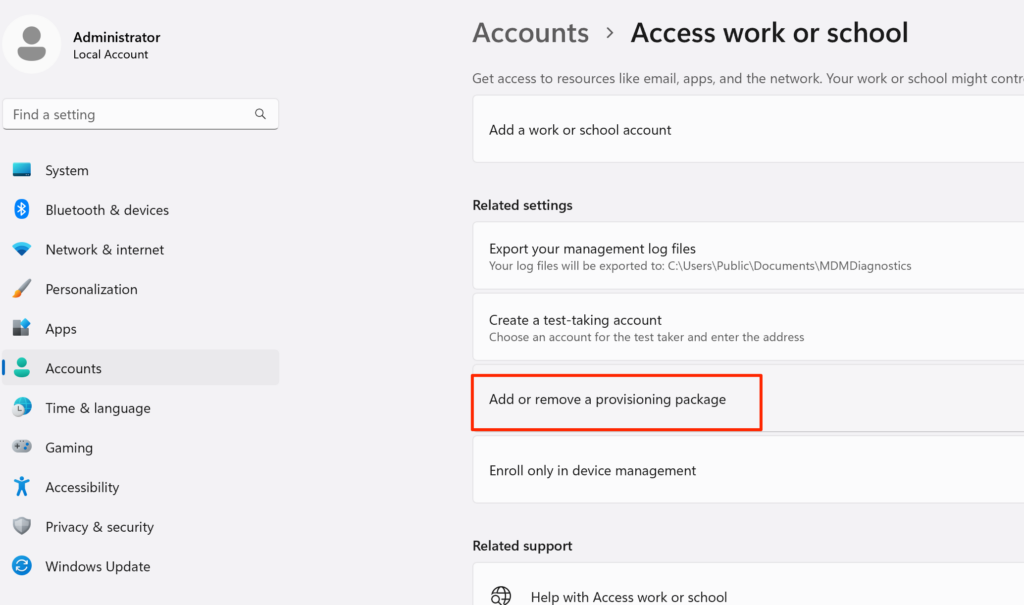
In the Provisioning packages dialog, select Add a package and then select and add the package we created earlier from the USB drive.
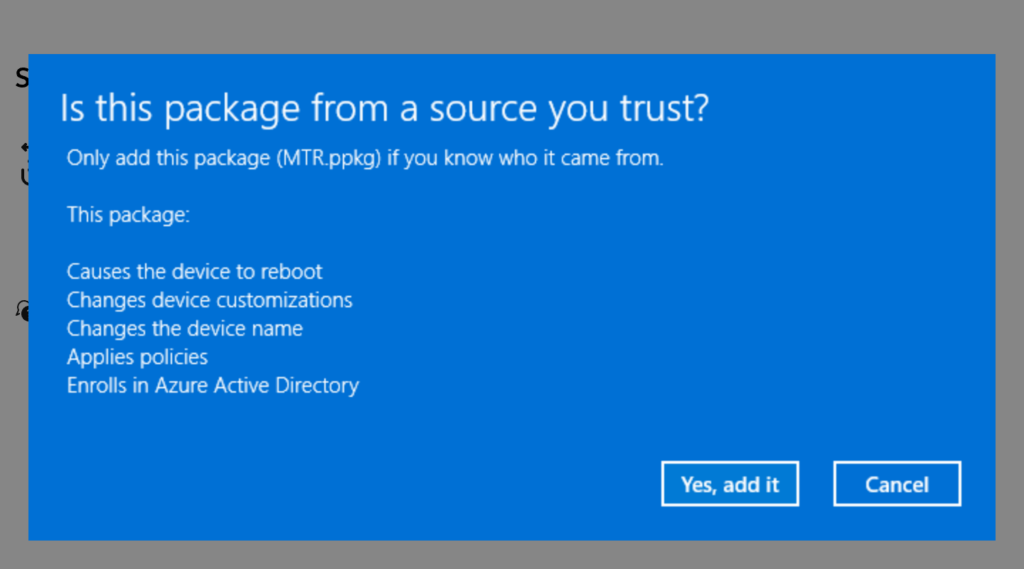
A dialog opens, confirming that the package is from a trusted source. It shows the information about the changes that will be made to the system.
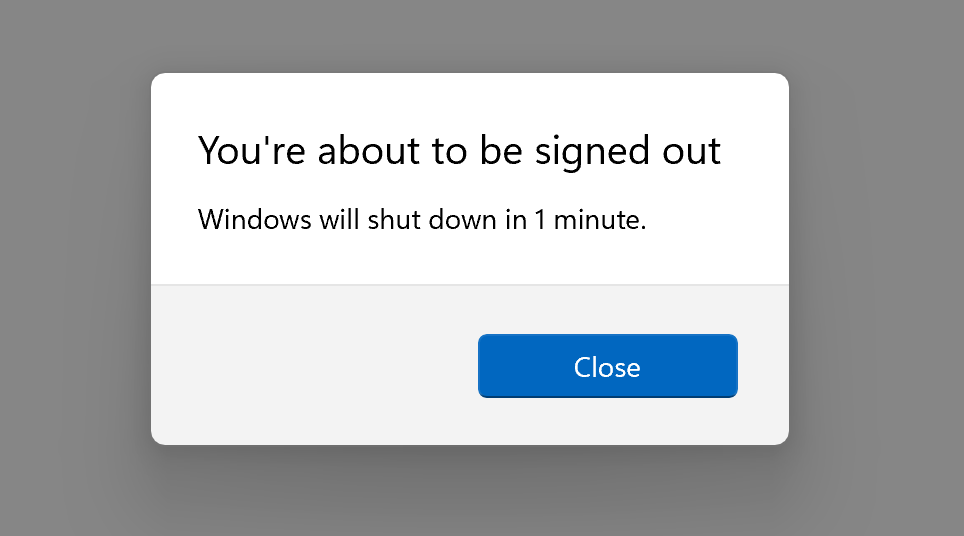
After adding the package, the device reboots and begins the setup process automatically
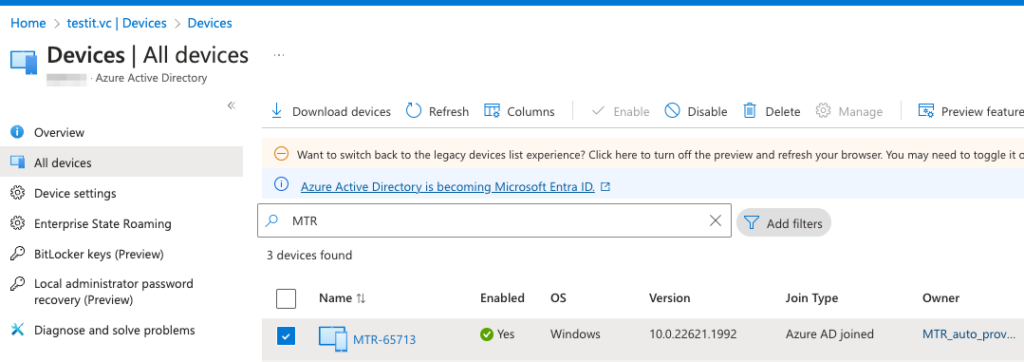
11. The device should now show up in Azure AD
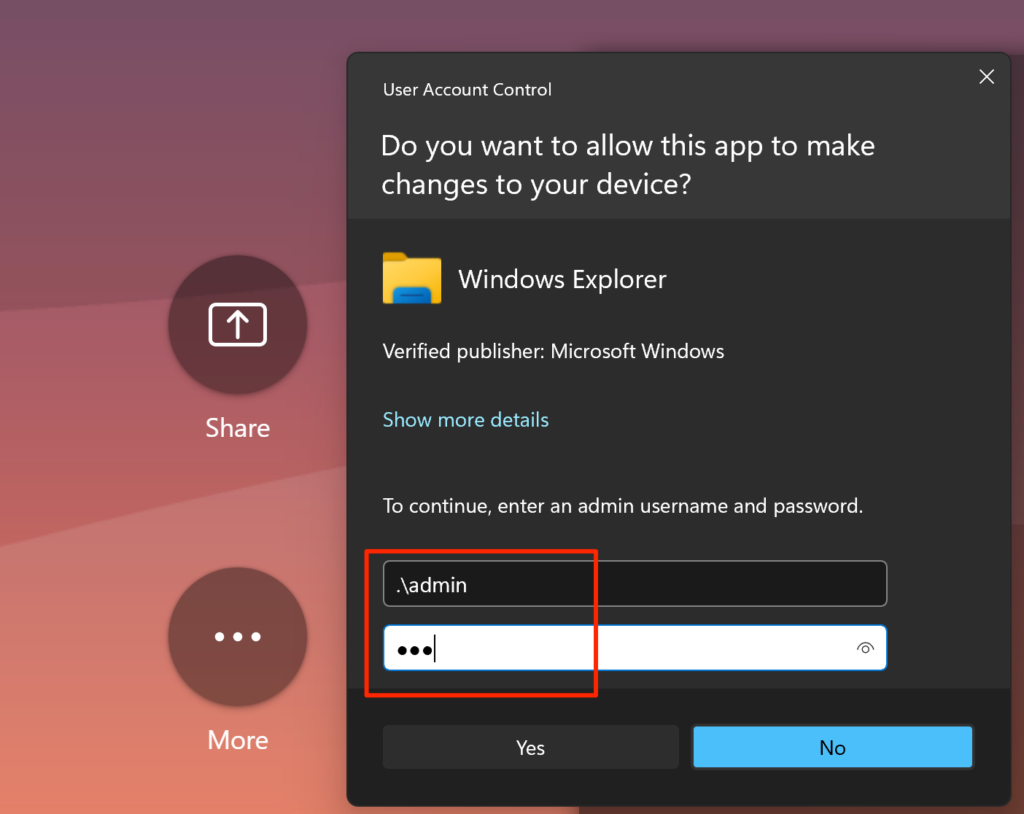
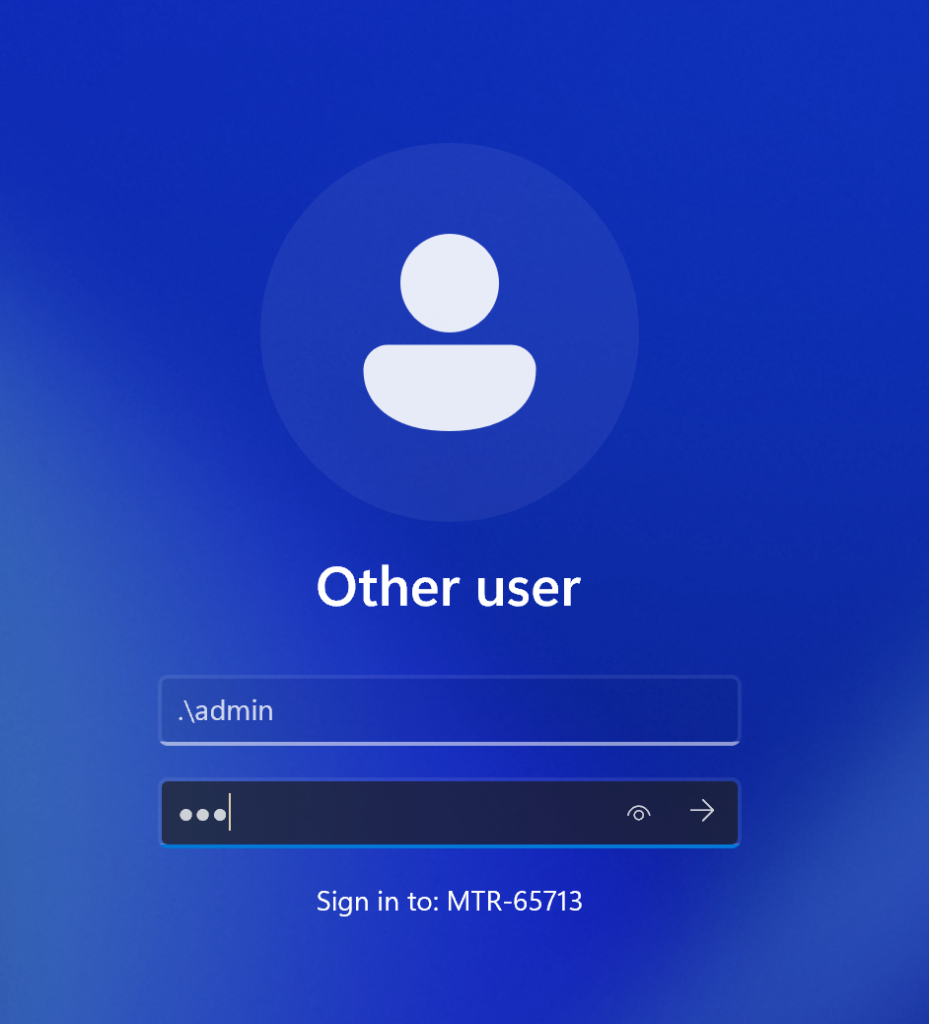
12. Now that the device is managed, the local admin account is not presented if you need to login to the device as the local admin do the following, go to settings from within the MTR and use the following credentials:
username: .\admin
password: sfb
Other Parts to this series
This series is divided in the following posts:
Part 1: Create a Microsoft Teams Room Mailbox using PowerShell
Part 2: Creating a Virtual Microsoft Teams Room
Part 3: Manage a Microsoft Teams Rooms with Intune
Part 4: Customising a Microsoft Teams Room

